
You can easily and affordably set up a home security system using Blink outdoor cameras. With these Amazon smart cameras, you can monitor your house in real-time. You can record video recordings locally or to the cloud and receive notifications whenever motion is detected. When looking for a wireless security camera that is both economical and user-friendly, smart homeowners frequently choose the Blink Outdoor Camera. Additionally, This post provides a simple, step-by-step tutorial to install blink outdoor camera.
We will review how to install the Blink app, configure your Blink camera, and change the motion detection settings. A powerful option for home security is the Blink Outdoor Camera. It offers streaming in 1080p quality and up to 700 lumens of light if you have a floodlight camera. The only drawback is that it can be tricky to set up, but we’ve explained every step in detail.
Here’s how to install and configure your Blink smart cameras, watch your cameras in real-time, and get motion alerts.
Simple Steps To Install Blink Outdoor Camera
First, download and install the Blink app on your tablet or smartphone. The app may be downloaded from Google Play or the App Store and is compatible with iOS and Android smartphones.
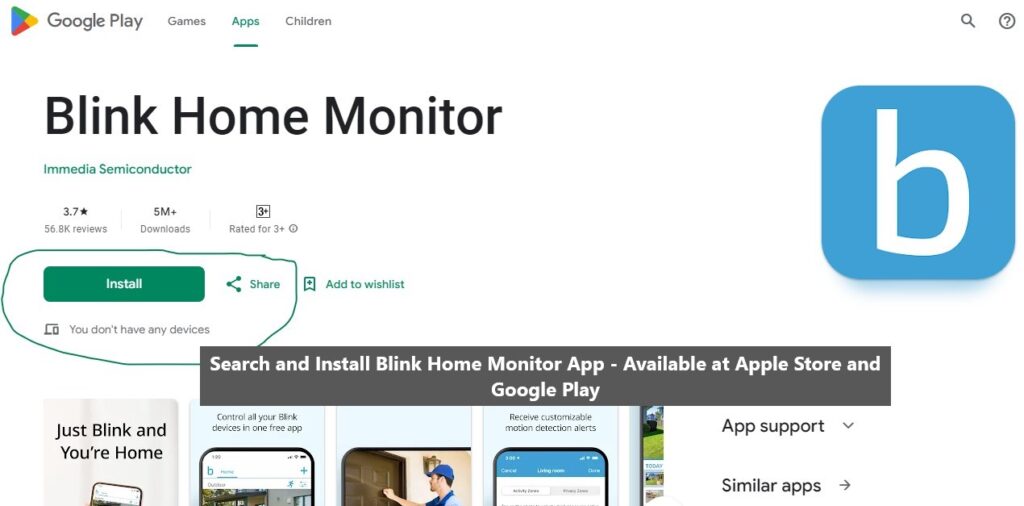
Download & Install the Blink Home Monitor App
To install the Blink app:
- Open the App Store or Google Play on your smartphone or tablet.
- Search for “Blink Home Monitor” and select the app to install.
- Tap “Install” to begin the installation process.
- Once the app is installed, please open it and create a new Blink account. Tap “Create Account,” enter your Gmail or any email address to register, and create a password.
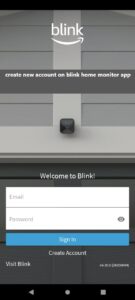
How To Create a New Account on Blink Home Monitor App
Link Your Amazon Account
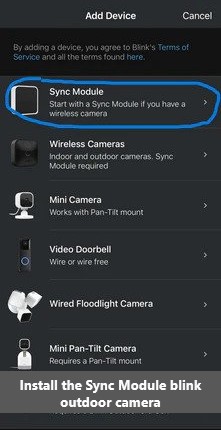
Now Add the Sync Module
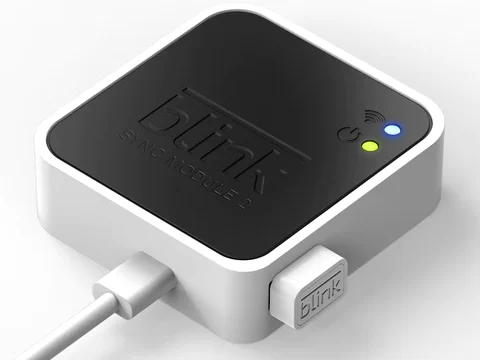
The Blink Sync Module is an additional and essential feature that connects your Blink cameras to your WiFi network and the Blink app. To install the Sync Module, please follow the below steps:
- Connect the Sync Module to a power source close to your WiFi router.
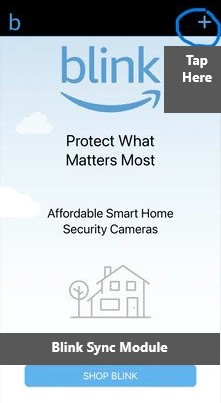
- Open the Blink app on your smartphone or tablet.
- Tap on the “+” icon in the top-right corner on your screen. If this is your first time setting up any device, select Sync Module from your device options list.
Follow the on-screen directions to scan the QR code on the back of the Sync Module. The app will initiate the setup procedure automatically upon detecting the Sync Module.

Click “Done” after entering the name of the Blink system you want. One indicator light will flash a constant green light, while the other will blink blue. Hold off until the module creates a BLINK-XXXX Wi-Fi network. Press “Join”. From the list of accessible networks, choose your Wi-Fi network and input your Wi-Fi password. Await the Sync Module’s Wi-Fi network connection. This could require many minutes. You will be notified that a new Sync Module has been added to the system as soon as the connection is successful. Click “Done”.
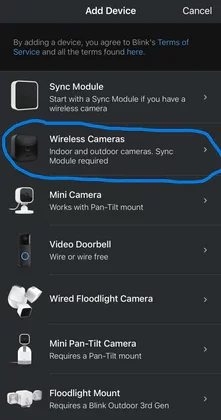
Finally Now Add The Camera
You are now ready to configure a Blink camera after adding the Sync Module. Here is a step-by-step guide:
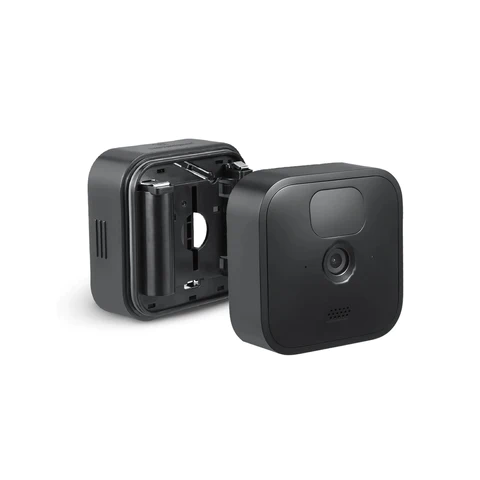
Using the included tool or a small screwdriver or knife, unscrew the rear panel of the camera and insert the batteries. When the Blink app is open, tap the “+” symbol in the top-right corner. Select “Blink Wireless Camera” and scan the battery compartment QR code. To ensure that the contacts meet, make sure the backplate is ready for attachment and that it screws into place in the proper orientation. When the camera is powered on, it will blink red. A notice stating, “Camera added successfully,” will appear at the top of the screen if the camera was installed successfully.
You Can Add More Cameras With The Following Steps
To add more security camera systems with Blink Sync Module, follow these steps:
- On your tablet or smartphone, run the Blink app.
- Tap the “Add a Blink Camera” button. To scan the QR code on the back of the new camera, follow the on-screen directions.
- Give the new camera a name and decide where to put it.
- Choose the existing Sync Module from the list when asked to “Select a Sync Module.”
- Install the two AA batteries into your wireless blink camera and wait for it to establish a connection with the Sync Module.
This process could require a few minutes. After the camera is attached to the Sync Module, you can customize its configurations and settings.
Mount Your Blink Outdoor Camera Wherever You Want
You can place your Blink camera wherever you want it once it is connected to the Sync Module. Remember that the camera needs to be out of reach of any potential intruders and in a position that allows it to record the area you wish to monitor. You can try different ways to hide your camera from visibility.
The Blink camera comes with a mounting bracket and screws for installing it, as well as a stand for flat-surface placement. In order to get the best possible view, use the adjustable mount to change the camera’s angle after it has been positioned.
How To Customize Your Blink Camera Settings?
You can customize the Blink camera’s settings to meet your requirements after it has been installed and positioned. The following options can be changed using the Blink app:
- Adjust the motion detection sensitivity and range of your camera. This will ascertain what triggers the camera to begin recording videos and sending alerts to your phone.
- Select the video quality that works best for your camera. High video quality needs better internet speeds and greater storage space on the Sync Module.
- Select the length of time to record video when motion is detected. This could take five to sixty seconds. Set up a timetable for when to arm/disarm or activate/deactivate your camera. If you only want the camera to be on during particular hours of the day or night, this is ideal.
How To Set Motion Detection on Blink Outdoor Cameras?
To enable motion detection on your Blink outdoor wireless camera, open the Blink app and choose the desired camera. After selecting “Motion Detection,” tap “Camera Settings.”
You can modify the following motion detection settings based on your requirements:
Sensitivity: Modify the motion-detecting sensor’s sensitivity. The likelihood that the camera will detect motion increases with sensitivity.
Motion Zones: Create motion zones to indicate the specific area in which you want the camera to look for movement. To monitor a specific area, draw a box around it.
Re-trigger Time: This parameter controls how long the camera must pass after detecting motion before doing so again. Ten seconds is the minimum, and sixty seconds is the maximum setting.
The length of the video clip the camera records when motion is detected is determined by the clip length setting. Five seconds is the minimum, and sixty seconds is the maximum setting. Once the settings have been adjusted, select “Save” to keep your modifications. By moving in front of the camera to activate motion detection, you can test your motion detection settings. Through the app, motion detection alerts ought to be sent to you.
Final Step: Test Your Camera
It’s time to give your customized Blink camera settings a test. To activate motion detection and confirm that the camera is recording and delivering notifications to your phone, walk in front of the camera. Open the Blink Home Monitor app, select the desired clip to watch by tapping the “Clip Roll” icon, and check the videos that your Blink device has captured.
The Best Blink Accessories That Your Camera Needs
Blink accessories that can increase the functionality and longevity of your cameras are compatible with them.
The following are a few of the best Blink accessories:
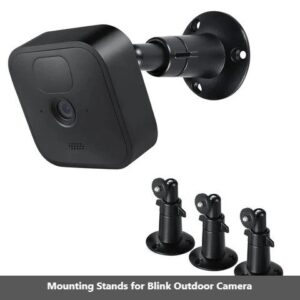
Mounting Stands for Blink Outdoor Camera
These blink outdoor camera mounts make it simple to affix your camera to walls, ceilings, and other surfaces. They are made especially for Blink Outdoor cameras. These add-ons help enhance your camera’s viewing angles.
Blink Camera Skins
These skins provide your Blink cameras an additional layer of defense against the elements and scratches.
Battery Extension for Blink Camera
This enables you to utilize four AA lithium batteries with your Blink camera, giving you twice the battery life of the standard two AA battery setup.
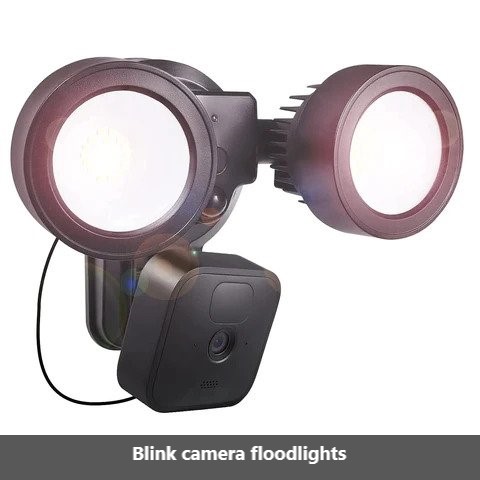
Blink Floodlights
Made to provide intense illumination and enhance the night vision of your Blink camera, even in dimly lit areas.
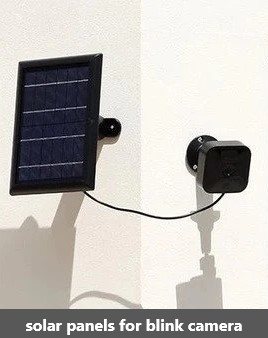
Blink Solar Panels
These will assist in preventing any downtime brought on by low batteries and guarantee that your Blink devices are powered continuously.